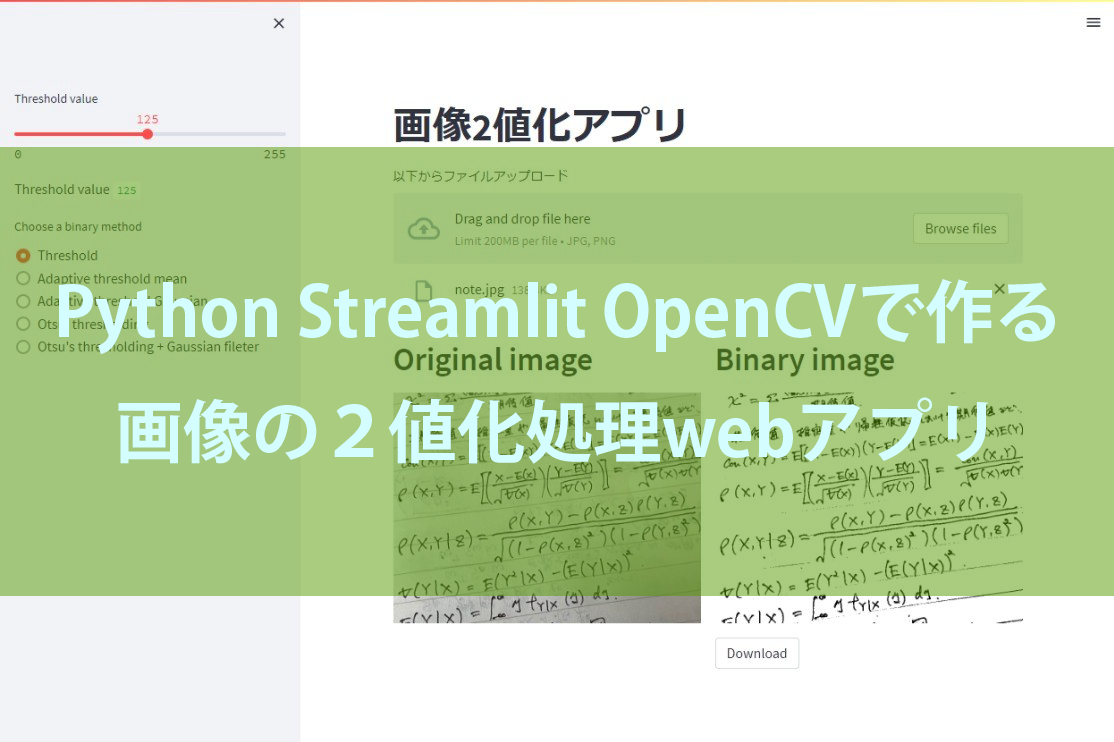
手軽にwebアプリケーションが作成できるStreamlitを使用して、OpenCVで画像の2値化処理をするアプリケーションを作成しました。まずは、ローカル環境で実行できるところまでを確認しています。以下にコードと実行結果を紹介します。
ライブラリインストール
Pythonに使用するライブラリをインストールします。
pip install streamlit opencv-python Pillowアプリ作成
import os

import streamlit as st
import numpy as np
from PIL import Image
import cv2


def pil2cv(image):
    ''' PIL型 -> OpenCV型 '''
    new_image = np.array(image, dtype=np.uint8)
    if new_image.ndim == 2:  # モノクロ
        pass
    elif new_image.shape[2] == 3:  # カラー
        new_image = cv2.cvtColor(new_image, cv2.COLOR_RGB2BGR)
    elif new_image.shape[2] == 4:  # 透過
        new_image = cv2.cvtColor(new_image, cv2.COLOR_RGBA2BGRA)
    return new_image

def main():
    os.makedirs('./data', exist_ok=True)
    st.set_page_config(page_icon="📷", page_title="画像2値化アプリ")

    with st.sidebar:
        th = st.slider('Threshold value', 0, 255, 125)
        st.write("Threshold value", th)

    with st.sidebar:
        radio = st.radio(
            "Choose a binary method",
            ("Threshold", "Adaptive threshold mean","Adaptive threshold Gaussian",
            "Otsu' thresholding", "Otsu's thresholding + Gaussian fileter")
        )

    st.title('画像2値化アプリ')

    # アップローダー
    uploaded_image=st.file_uploader("以下からファイルアップロード", type=['jpg','png'])
    # カラム設定
    col1, col2 = st.columns(2)

    col1.header("Original image")
    col2.header("Binary image")

    # original画像表示、2値化処理
    with col1:
        if uploaded_image is not None:
            image=Image.open(uploaded_image,)
            img_array = np.array(image)
            st.image(img_array,use_column_width = None)
            img=pil2cv(image)

            gray = cv2.cvtColor(img,cv2.COLOR_BGR2GRAY)
            ret,th1 = cv2.threshold(gray,th,255,cv2.THRESH_BINARY)
            th2 = cv2.adaptiveThreshold(gray,255,cv2.ADAPTIVE_THRESH_MEAN_C,\
            cv2.THRESH_BINARY,11,2)
            th3 = cv2.adaptiveThreshold(gray,255,cv2.ADAPTIVE_THRESH_GAUSSIAN_C,\
            cv2.THRESH_BINARY,11,2)
            ret2,th4 = cv2.threshold(gray,0,255,cv2.THRESH_BINARY+cv2.THRESH_OTSU)
            blur = cv2.GaussianBlur(gray,(5,5),0)
            ret3,th5 = cv2.threshold(blur,0,255,cv2.THRESH_BINARY+cv2.THRESH_OTSU)

    # binary画像表示、保存
    if radio=="Threshold" and uploaded_image is not None:
        col2.image(th1)
        cv2.imwrite('./data/image.png', th1)
    elif radio=="Adaptive threshold mean" and uploaded_image is not None:
        col2.image(th2)
        cv2.imwrite('./data/image.png', th2)
    elif radio=="Adaptive threshold Gaussian" and uploaded_image is not None:
        col2.image(th3)
        cv2.imwrite('./data/image.png', th3)
    elif radio=="Otsu' thresholding" and uploaded_image is not None:
        col2.image(th4)
        cv2.imwrite('./data/image.png', th4)
    elif radio=="Otsu's thresholding + Gaussian fileter" and uploaded_image is not None:
        col2.image(th5)
        cv2.imwrite('./data/image.png', th5)

    # ダウンロードボタン作成
    if uploaded_image is not None:
        col2.download_button('Download',
            open('./data/image.png', 'br'),
            file_name='image.png')


if __name__ == '__main__':
    main()
実行結果
上記のコードを実行します。
streamlit run test.py実行するとブラウザが自動で開いてアプリにアクセスできました。デフォルトでは、8501番ポートで稼働しているのでhttp://localhost:8501でアクセスできます。
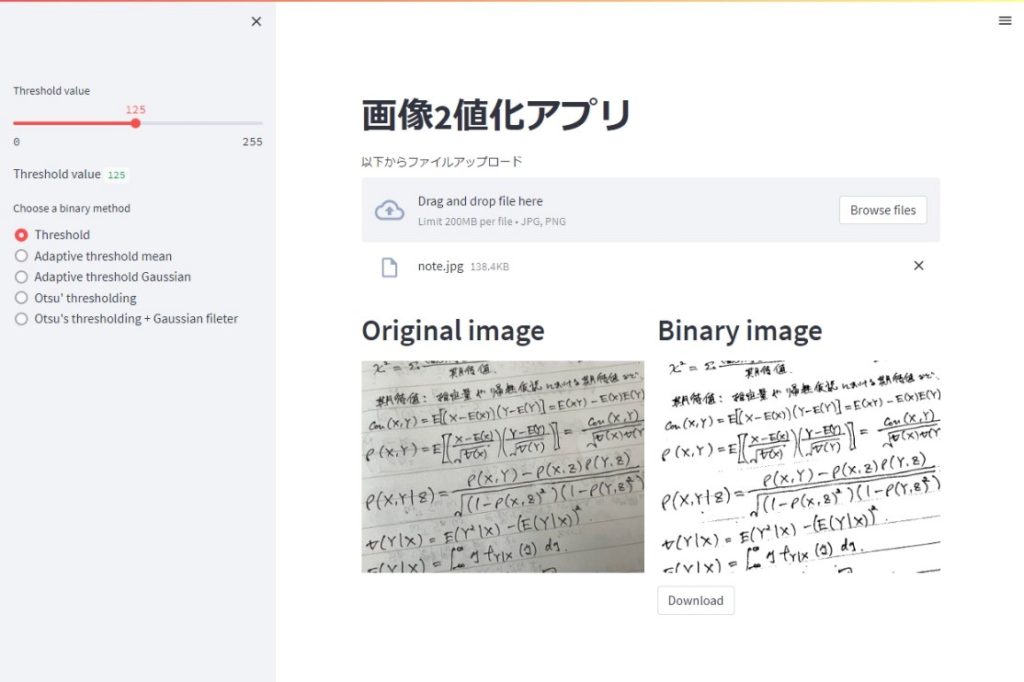
実際のアプリ画面
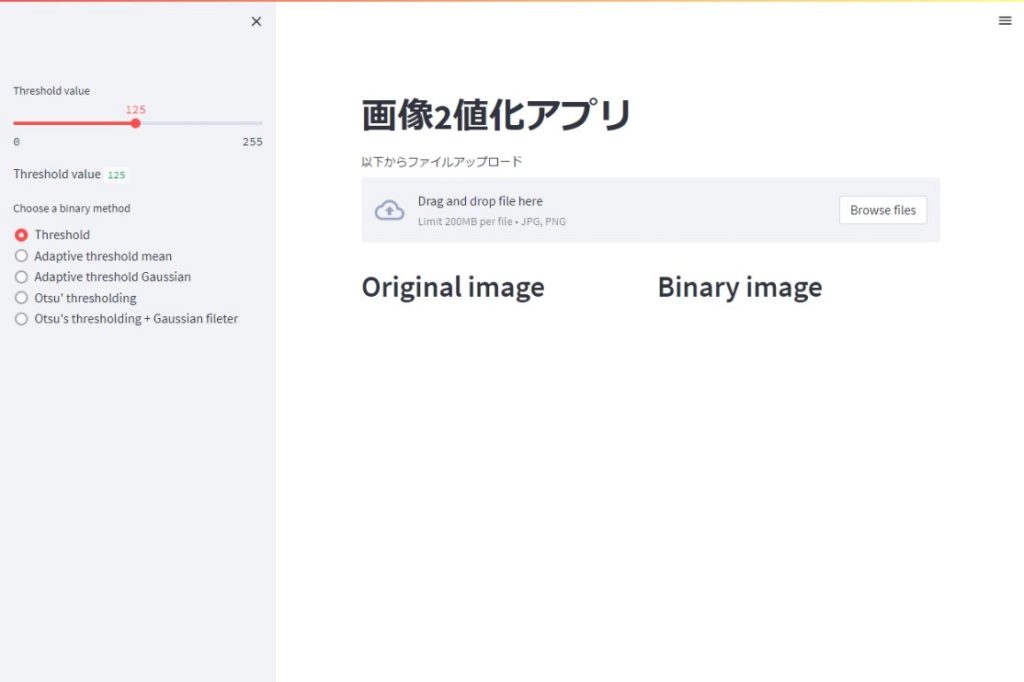
Browse filesから画像をアップロードした状態。左側で2値化の条件設定。Binary imageの下のDownloadから2値化後の画像をダウンロードできます。
まとめ
以上、Streamlitを使用して、OpenCVで画像の2値化処理をするアプリケーションを作成しました。今回は、ローカル環境で実行できるところまでを確認したので、最終的にはサーバー上での実行を目指していきます。


コメント